Appearance
threejs动态飞线效果
在数据可视化和科学可视化领域,动态飞线(或称流线)常用于表示两点之间的流动或连接。本文将介绍如何在Three.js中创建并实现这种效果,通过自定义着色器和动画技术,让飞线动起来。
创建动态飞线效果的步骤
1. 定义飞线路径: 使用 THREE.QuadraticBezierCurve3二次贝塞尔曲线来定义飞线的基本形状。贝塞尔曲线为飞线提供了平滑的曲线路径。
2. 计算飞线粒子位置: 在贝塞尔曲线上根据指定的密度采样点,这些点将作为飞线的粒子位置。
3. 设置粒子属性: 为每个粒子设置属性,如在曲线上的相对位置和索引,这些属性将用于控制粒子的显示顺序和动画。
4. 创建粒子几何体: 使用 THREE.BufferGeometry存储粒子的位置和其他属性,如索引和当前序号。
5. 编写自定义着色器: 自定义顶点着色器和片元着色器,控制粒子的颜色、大小和透明度,实现动态效果。
6. 动画粒子: 在动画循环中,根据时间和其他动态因素更新粒子的属性,如大小和透明度,实现飞线的动态流动效果。
js
import * as THREE from 'three';
/**
 * 获取三维粒子位置并返回粒子对象
 *
 * @param option 配置项对象
 * @param option.source 起始点坐标对象,包含x, y, z属性
 * @param option.target 目标点坐标对象,包含x, y, z属性
 * @param option.height 粒子高度
 * @param option.size 粒子大小
 * @param option.color 粒子颜色
 * @param option.range 显示当前范围的粒子个数
 * @returns 粒子对象
 */
export default function (option) {
    const {
        source,
        target,
        height,
        size,
        color,
        range
    } = option;
    const positions = [];
    const attrPositions = [];
    const attrCindex = [];
    const attrCnumber = [];

    const _source = new THREE.Vector3(source.x, source.y, source.z);
    const _target = new THREE.Vector3(target.x, target.y, target.z);
    const _center = _target.clone().lerp(_source, 0.5);
    _center.y += height;

    const number = parseInt(_source.distanceTo(_center) + _target.distanceTo(_center));

    const curve = new THREE.QuadraticBezierCurve3(
        _source,
        _center,
        _target
    );

    const points = curve.getPoints(number);

    // 粒子位置计算

    points.forEach((elem, i) => {
        const index = i / (number - 1);
        positions.push({
            x: elem.x,
            y: elem.y,
            z: elem.z
        });
        attrCindex.push(index);
        attrCnumber.push(i);
    })


    positions.forEach((p) => {
        attrPositions.push(p.x, p.y, p.z);
    })

    const geometry = new THREE.BufferGeometry();

    geometry.setAttribute('position', new THREE.Float32BufferAttribute(attrPositions, 3));
    // 传递当前所在位置
    geometry.setAttribute('index', new THREE.Float32BufferAttribute(attrCindex, 1));
    geometry.setAttribute('current', new THREE.Float32BufferAttribute(attrCnumber, 1));

    const shader = new THREE.ShaderMaterial({
        transparent: true,
        depthWrite: false,
        depthTest: false,
        blending: THREE.AdditiveBlending,
        uniforms: {
            uColor: {
                value: new THREE.Color(color) // 颜色
            },
            uRange: {
                value: range || 100 // 显示当前范围的个数
            },
            uSize: {
                value: size // 粒子大小
            },
            uTotal: {
                value: number // 当前粒子的所有的总数
            },
            time: {
                value: 0 //
            }
        },
        vertexShader: `
        attribute float index;
        attribute float current;
        uniform float time;
        uniform float uSize;
        uniform float uRange; // 展示区间
        uniform float uTotal; // 粒子总数
        uniform vec3 uColor;
        varying vec3 vColor;
        varying float vOpacity;
        void main() {
            // 需要当前显示的索引
            float size = uSize;
            float showNumber = uTotal * mod(time, 1.1);
            if (showNumber > current && showNumber < current + uRange) {
                float uIndex = ((current + uRange) - showNumber) / uRange;
                size *= uIndex;
                vOpacity = 1.0;
            } else {
                vOpacity = 0.0;
            }

            // 顶点着色器计算后的Position
            vColor = uColor;
            vec4 mvPosition = modelViewMatrix * vec4(position, 1.0);
            gl_Position = projectionMatrix * mvPosition;
            // 大小
            gl_PointSize = size * 300.0 / (-mvPosition.z);
        }`,
        fragmentShader: `
        varying vec3 vColor;
        varying float vOpacity;
        void main() {
            gl_FragColor = vec4(vColor, vOpacity);
        }`
    });

    const point = new THREE.Points(geometry, shader);

    return point;
}
使用案例
js
import Fly from './fly.js'
let uTime = {
value:0,
}
const flyData = {
source: {
x: 173,
y: 0,
z: 43,
},
target: {
x: 52,
y: 0,
z: 12,
},
range: 100,
height: 100,
color: "rgb(29,135,240)",
speed: 1,
size: 5,
};
const flyMesh = Fly(flyData);
flyMesh.material.uniforms.time = uTime;
const clock = new THREE.Clock(); //计时器
const FPS = 60; // 指的是 30帧每秒的情况
const singleFrameTime = 1 / FPS;
let timeStamp = 0;
function animate() {
window.loopId = requestAnimationFrame(animate);
const delta = clock.getDelta(); //获取距离上次请求渲染的时间
uTime.value += delta;
if (timeStamp > singleFrameTime) {
renderer.render(scene, camera);
// 剩余的时间合并进入下次的判断计算 这里使用取余数是因为 当页页面失去焦点又重新获得焦点的时候,delta数值会非常大, 这个时候就需要
timeStamp = timeStamp % singleFrameTime;
}
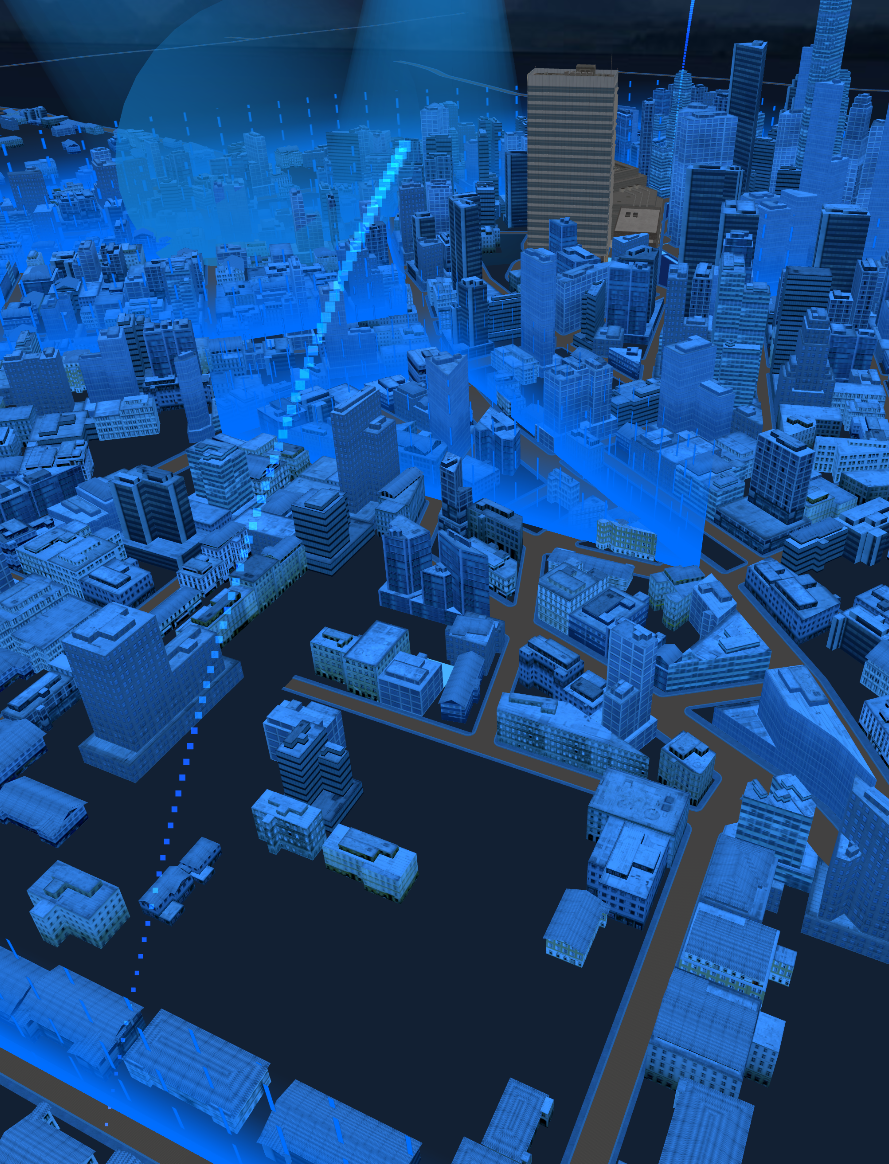
}效果展示